
1882 阅读 2020-03-12 19:04:05 上传
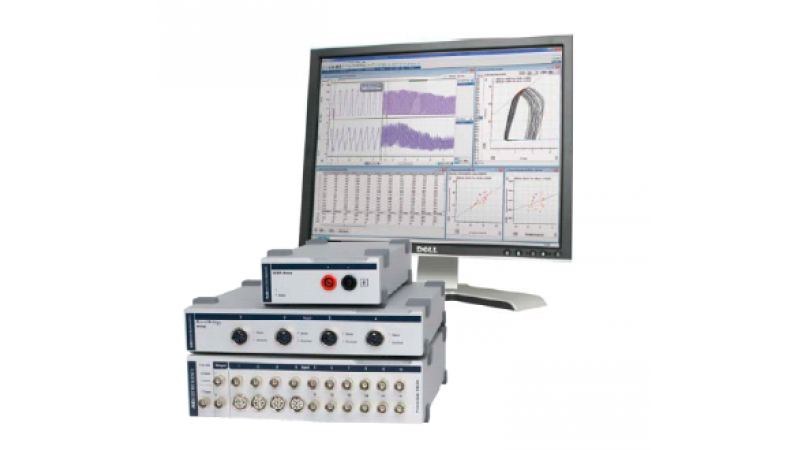
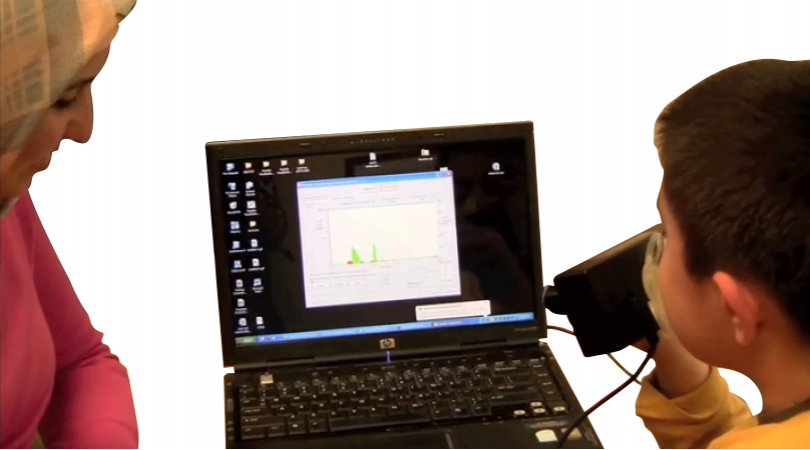
Hello everyone,Today we're going to have a quick look at the AD instruments PowerLab system.So this is a multi functional physiology unit that will allow you to do several physiology practicals throughout the course of your degree.As you can see, the entire system comes in a suitcase.When you open the suitcase, you'll see the actual PowerLab,computer system, along with a compartment that contains,power tables and a USB cable system to connect the power lab to the laptop.Next to that in the compound of the case,there are many different plugs and inputs that you can use for the different practical that we will be doing.There is also a sheet which actually give you a indication which parameters are in here or which drops and leads.so you know which one to pick for each different Practical.For most practical,we will already have put up this system for you,But sometimes you might have to take part in the case.yourself and select the correct leaves.Whenever you need to do thisplease be careful this is very expensive.and we don't want you to break it.So when we have a look,the actual power lab system.You'll see this is the front,with on this side,the power sign, the power switch,andthe power status indicator light.And then you'll have a series of inputs where you can actually plug in all the different leads you might use.As a rule, it will. Always be clearly indicated which input needs to go where.But overall you all use.input number oneor the big black plug for any ECG leaves.They will go in quite tight.So you have to apply some pressure. But average, if you feel like,it's not going it properly don't push too hard,because otherwise you might break it.So this is the box at the front,when we have a look at the back.on this side, we see,the input for the power cable alongside with the own off switch.Some other ports if you want to connect it to a printer,but you won't have to do that.And then on the other side,A plug to connect the USB to the computer.So when we start,connecting that, get the USB plug that in, into the computer.The power cable ,same thing, we plug that in at the back.And Once you've got this in, remember,to switch on the machine.Well You don't earn it wrong.You will see the blue power light,and either a orange or a green light when the state is like flashes orange,then there's something wrong You might need to re connect your leads.In this case it's green,it's good to go.for this short practical, we will just be doing a pulse pressure measurements of measuring the blood pressure in my finger.when we look at this, we see all the leads are. Nicely rolled up.Which means that the person who use it before you put everything away neatly.Same thing when you're ready with practical, please put it away in the appropriate slot in the case.So that's what we're going to use in a minute,as we're not using anything else.in the suitcase. We're just going to put that away for now.with this lead,going to unwrap it. It has a long cable which will take out all the links,and then we'll put thisin this case, I know it goes into plugg number two,plugging it in at the Top. You can see,in this case, the AD Instruments logo at the Top.What we'll do done, will go to.The laptop.And login. And each laptop will have an icon that says student logging.You'll click on that and you'll come to the lab tutor logging string.I'm just going to log in now,quickly, in the next video,Show that will post.Will actually go into the lab tutor software in more detail.As well. Before the practical.For now, I'm just quickly going to login,select,the practical that we need.Soat the moment. We will only be interested in. The lower draft that says pulse.We're then gonna go attack.Match the pulse pressure probe.To my finger. So it has the side with velcro,and the flat site. And this is the actual measuring sitegonna put that. Home, My index finger, wrap the velcro around.So it's nice and tight, but not so tight that we're actuallya cloning my finger. So.There's no more blood going through it.And what we'll do now we're going to measure,blood flow. And the systolic blood. Pressure through. My finger.So we're going to hit start.On the lab tutor software.And as you can see in the bottom,The pulse graph. Shows you a nice. Draft of my pulse pressure.When we want, we can speed it up. Or Slow it down.At the bottom. or actually zoom in.Or zoom out.But whenever you you collecting data, I want to review it.This button down here, the auto scale is most useful.Because that'll or. Automatically scale it, too.The right skill you will need to use.So we've now collected, enough data so we can press stop.and we can then move. Walter start. Analyzing this data,but on how you can do that. We will show you in the lab tutor software video.Sothis was a very quick run through of the power lab that you will be using for some of your practical.I hope you found this usefulPlease also have a look at the other instruction videos.We will post.Thank you.